

Triage issues
Propose a label, priority and next step for each open issue, without changing the tracker
In this example you triage a backlog. The triage-issues workflow reads the issues you name and answers with one table that gives each issue a proposed label, a priority and a next step. It changes nothing in the tracker. You decide what to apply.
About five minutes to set up.
digraph triage_issues {  graph [version="1", entry="triage", description="Read an issue tracker's open issues and propose a label, a priority and a next step for each, changing nothing", defaults="goal='Triage the open issues opened in the last seven days.'", tool_access="Triage { tools: read, web, mcp; }"]
  triage [role="Researcher", tool_access="Triage", prompt_file="prompts/triage-issues/triage.md"]  done [shape="Msquare", outcome="success"]
  triage -> done}
Before you start
Section titled “Before you start”You need:
- a signed-in harness with the connected service for your tracker. The agent reads the tracker with the connected services your harness has. For GitHub Issues or Linear, set up that service’s MCP server in your harness first, for example Linear’s MCP server in Claude Code;
- any project. The workflow does not read the project’s files, and the project does not need to be a Git repository, unless you run it with Codex, which needs one. See plain folders and Git;
- the workflow: download the archive.
The workflow defines its own tool access, Triage. It allows reading files, browsing the web and using connected services. It does not allow changing files or running commands. Triage is not one of the tool access blocks Orbital ships.
1. Add the workflow
Section titled “1. Add the workflow”-
Unpack the archive into your workflow library,
~/.orbital/workflows/. Keep every relative path. -
Check it:
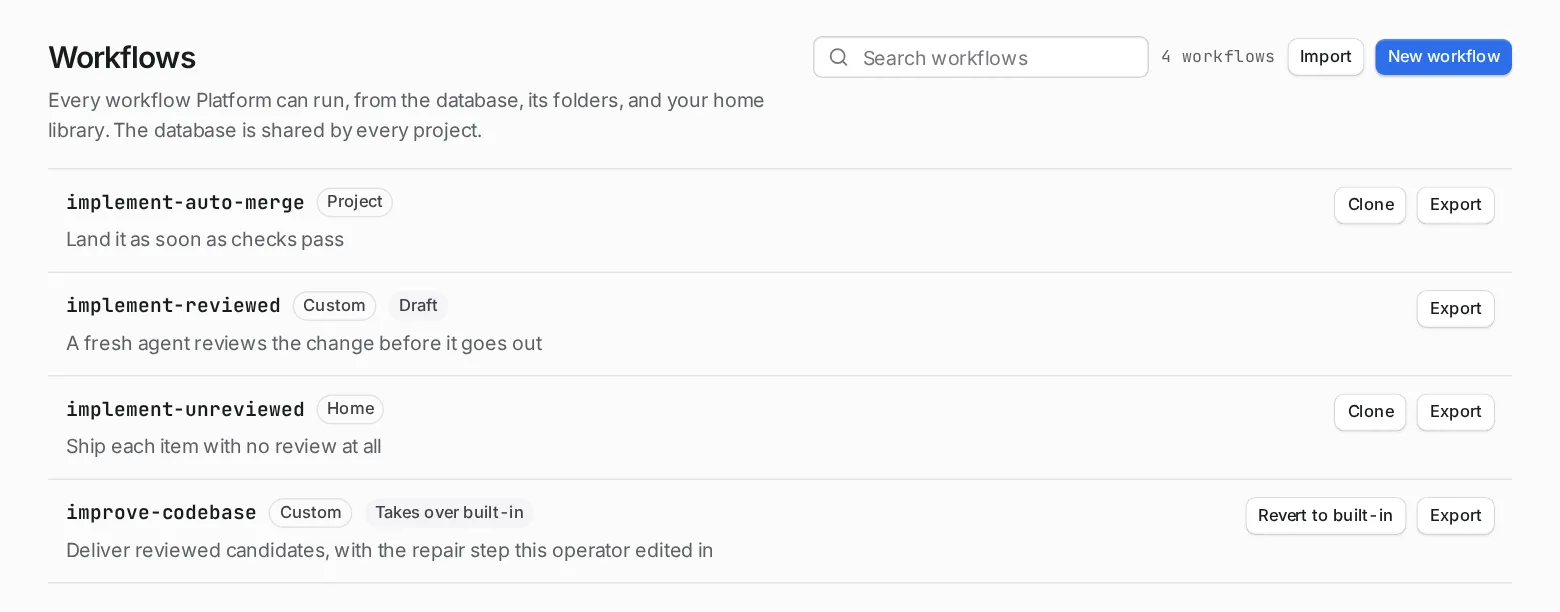
Terminal window orbital validate ~/.orbital/workflows/triage-issues.dot
The archive holds the workflow above and its prompt:
Triage the issues this goal names: {{ inputs.goal }}
Read the issues with the tools your tracker offers, such as its connected service or its web pages. Read each issue's title, description and comments. Do not label, assign, comment on, close or otherwise change any issue, and do not change any file.
For each issue, propose:
1. a label: bug, feature, question, documentation or duplicate;2. a priority: urgent, soon or later, with one sentence on why;3. a next step: ask the reporter a named question, reproduce it, link the duplicate, or ready to build.
Answer with one table: issue, title, label, priority, next step. Under the table, list the issues you could not read and why. The table is the run's final answer, so end with it and nothing else.
2. Start the run
Section titled “2. Start the run”-
Choose New task, pick any project and choose the
triage-issuesworkflow. -
Write which issues to triage, or leave the default: “Triage the open issues opened in the last seven days.” For example:
Triage the open issues in the ENG team in Linear that have no label. -
Choose Start run.
3. Read the table
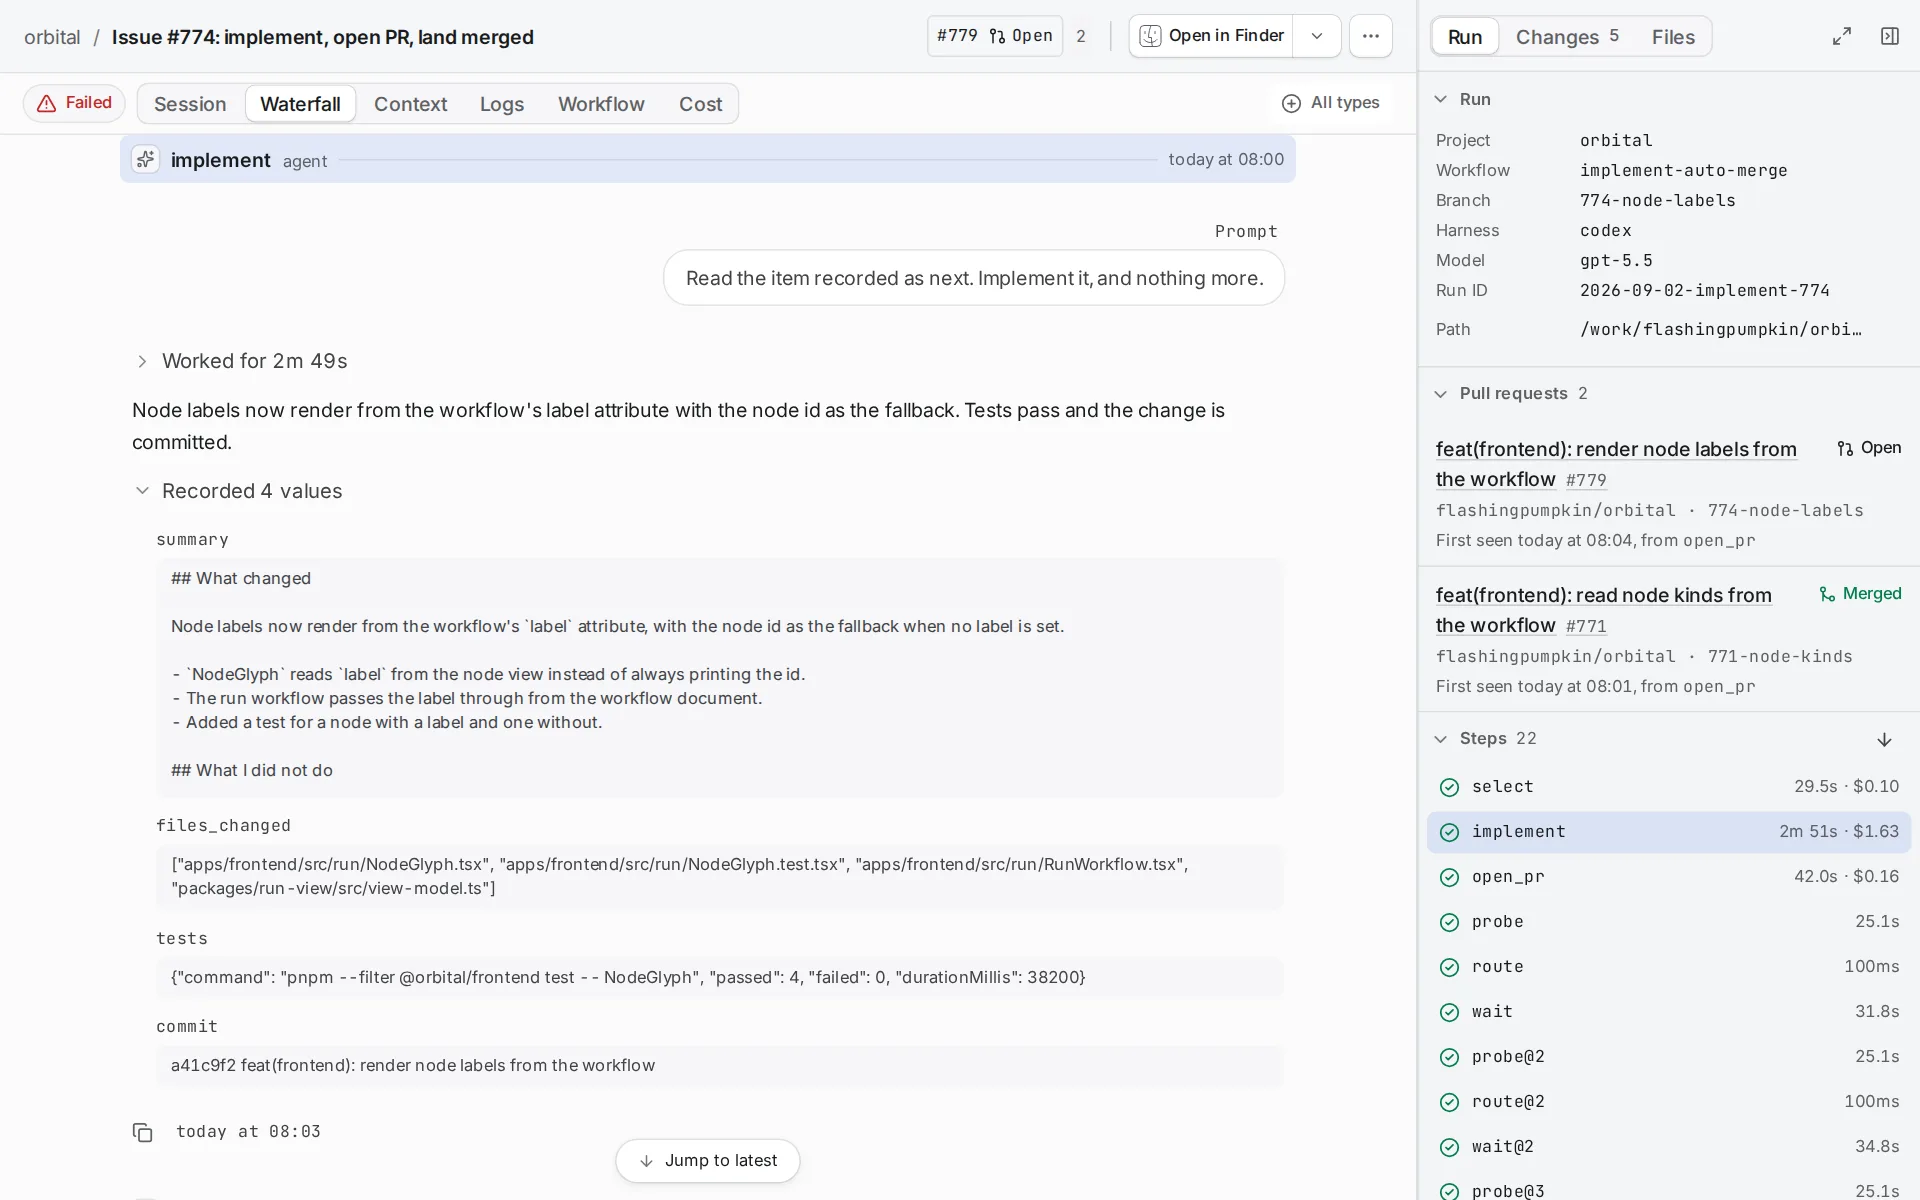
Section titled “3. Read the table”The answer is the step’s reply, the last message in the Session tab. It is one table with the issue, its title, the proposed label, priority and next step. Under the table, the agent lists any issue it could not read and why.
4. Apply what you agree with
Section titled “4. Apply what you agree with”The run changes nothing in the tracker. Apply the labels, priorities and next steps you agree with in your tracker yourself.
Make it yours
Section titled “Make it yours”- Change the labels and priorities in
triage.mdto the ones your team uses. - Run it every morning with a Schedule trigger.
- The workflow defines the
Triagetool access in itsgraphline, and thetriagestep uses it. Roles and tool access explains the block.
Related
Section titled “Related”- Roles and tool access: how a tool access block limits a step
- Make a trigger rule: run the triage every morning
- Write a research report: another workflow that changes no files