

Give steps a role
Choose each step's role, persona, model settings and tool access in the editor
Give a step a Role to decide in one choice who its agent is, which model it runs on and which tools it may use. Select the step in the workflow editor, then choose a Role under Role in the inspector.

Before you start
Section titled “Before you start”- Have a workflow open in the editor. See Write your first workflow.
- Know what the building blocks are. Roles and tool access defines them.
Pick a role for a step
Section titled “Pick a role for a step”Only steps that take a turn can have a Role. A command, a wait or an end does not.
-
Select the step.
Open the workflow in the editor and select the step.
-
Choose a Role.
In the inspector, under Role, choose a Role from the list. Orbital ships Planner, Implementer, Reviewer, Researcher and Supervisor.
-
Check the pickers below.
The Persona, Model settings and Tool access pickers below it fill in from the Role. Each says where its value comes from, such as “from role Reviewer”.
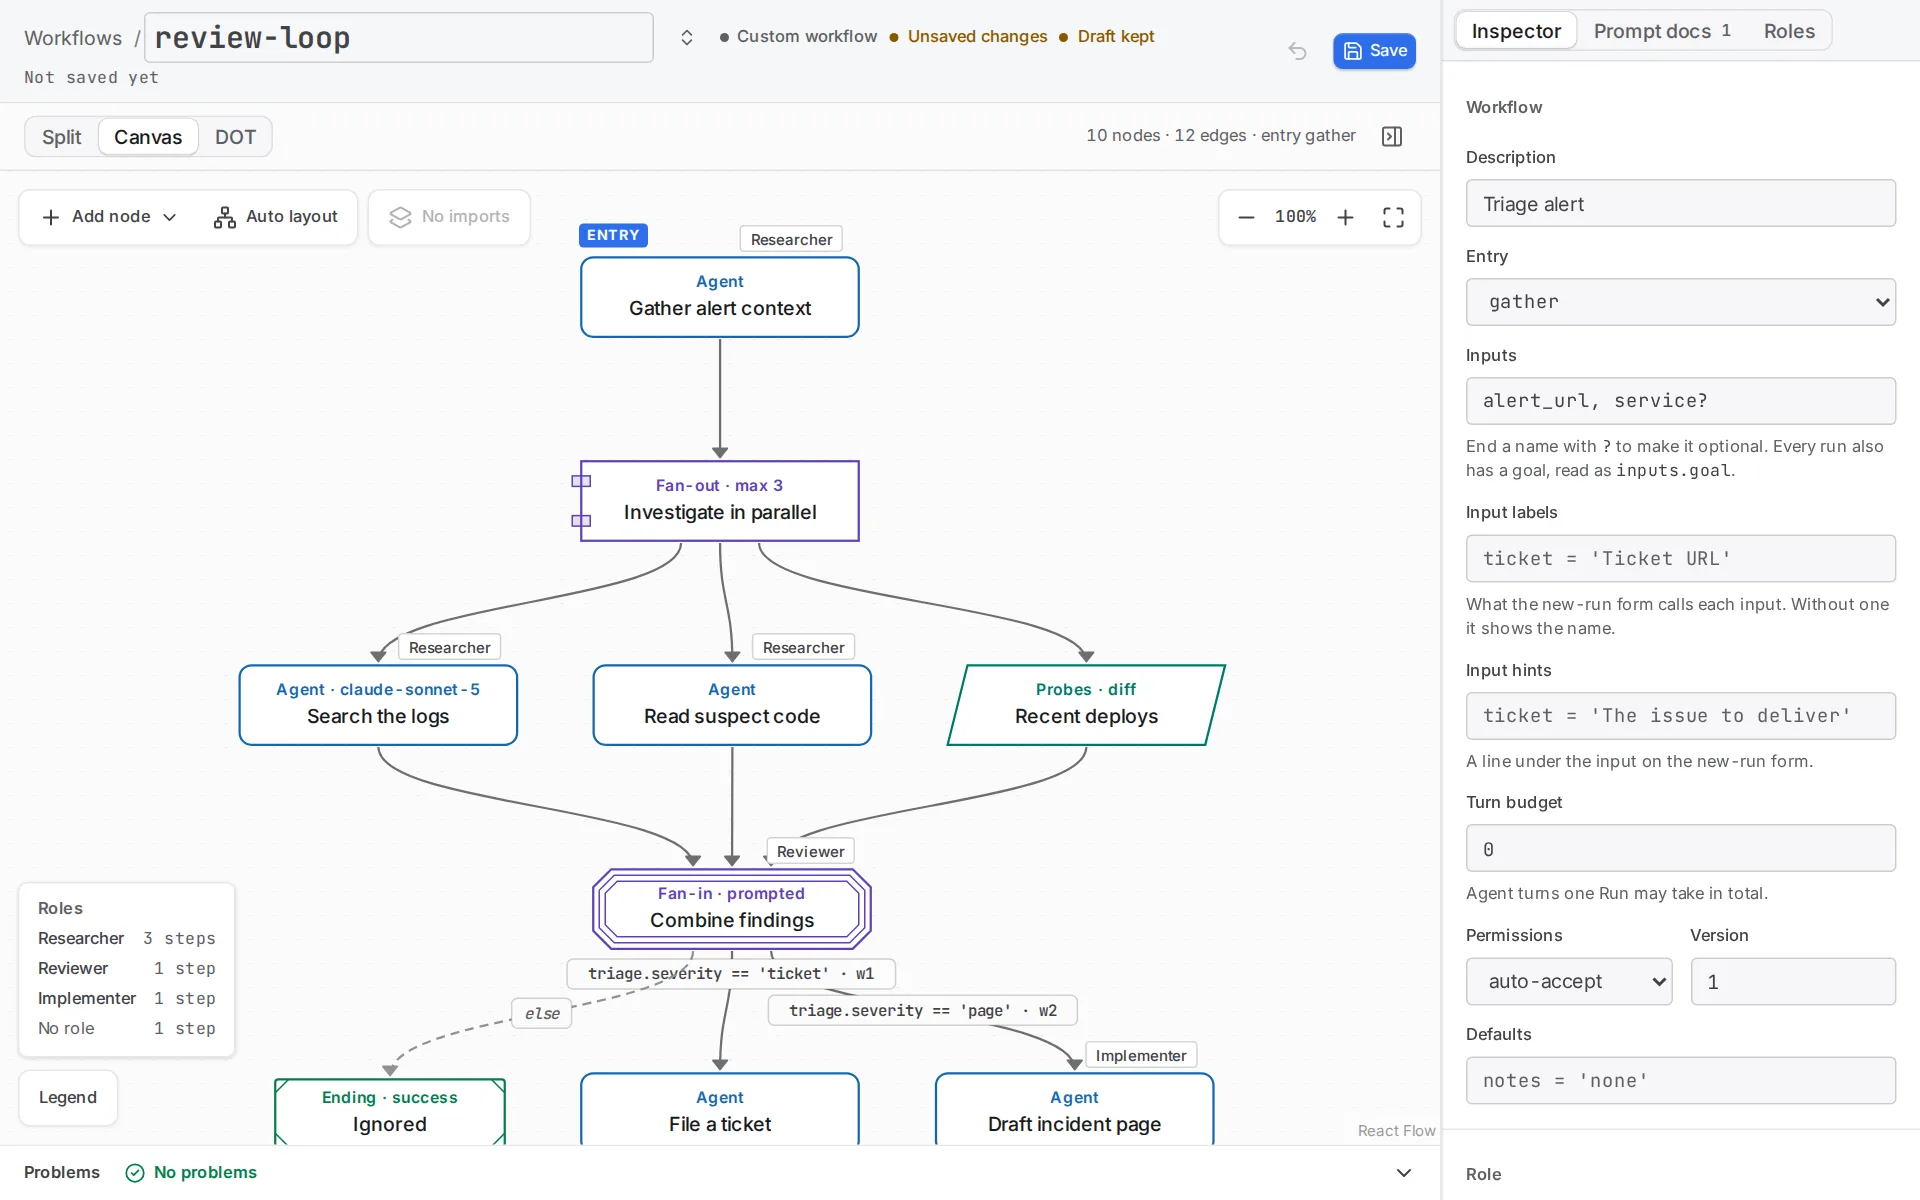
Each picker shows one of these origins:
| Origin | Meaning |
|---|---|
| “set on this step” | You chose it on the step. |
| “from role Reviewer” | The step’s Role brought it. |
| “from role Reviewer via ticket” | The import step ticket brought it through its Role. |
| “from the workflow” or “from the workflow’s role Implementer” | The workflow chose it for every step. |
| “default” | Nothing chose it, so Orbital’s defaults apply. |
Clear removes the step’s own choice, and the picker returns to what the step inherits. Exact values, such as a model name or single tool switches, sit under More below the picker.
The three building blocks
Section titled “The three building blocks”A step is configured by three building blocks.
- A Persona says who the agent is. It is a named prompt, such as “You review work you did not write”, that the agent receives along with the step’s own prompt.
- Model settings say which harness runs the step, which model it uses, and how hard it thinks. A harness is the agent program Orbital starts, such as Claude, Codex or OpenCode. Effort runs from minimal to ultra.
- Tool access says what the agent may use. It is five switches: Read files, Change files, Run commands (tests, git, scripts), Browse the web and Use connected services.
A step can use each building block directly. It can also use a Role, a shortcut that bundles one Persona, one set of Model settings and one Tool access under one name. A Role may leave any of the three out.
Every building block has a name, and the same name means the same thing on every step. Change the Model settings called Deep thinking, and every step that uses it changes too.
Read the step summary
Section titled “Read the step summary”Select a step in the workflow editor. The inspector shows one line that sums up how the step is configured, for example:
Reviewer · Strict reviewer · Codex, gpt-6-sol, high · Read only
Each part, from left to right, means:
- Reviewer is the step’s Role. It is missing when the step has no Role.
- Strict reviewer is the Persona.
- Codex, gpt-6-sol, high are the Model settings: the harness, the model and the effort. A part the step leaves to its defaults is not shown.
- Read only says what the step may use, after every Tool access that applies to it. It reads “Everything”, “Read only”, “Everything except running commands” or “No tools”, or else lists the switches that are on, such as “Read files, browse the web”.
Select a part to open its definition.
Assign a role to several steps
Section titled “Assign a role to several steps”-
Select the steps.
Select several steps on the canvas.
-
Choose a Role.
Choose a Role in the panel that appears.
-
Assign it.
Select Assign role.
Steps that take no turn are skipped, and the panel names them.
Customise one step
Section titled “Customise one step”Choose a different value in one picker, for example Tool access. Only that part changes. The step keeps the rest from its Role, and the picker now says “set on this step”.
In the example workflow, implement uses the workflow’s Role, Implementer, but its Tool access is “No web”. It can still read and change files and run commands, but it cannot browse.
Change a role everywhere or only in this workflow
Section titled “Change a role everywhere or only in this workflow”Roles, Model settings and Tool access live in Orbital’s library, which every workflow shares. A workflow may also keep its own copy.
-
Open the Roles tab.
Open the Roles tab in the editor. It lists what this workflow uses, and then the library.
-
Change an entry.
Open an entry and change it.
-
Save it.
Select Save. Orbital asks “Change Reviewer everywhere?”.
-
Choose where the change applies.
Choose Change it everywhere to change the library entry for every workflow. Choose Only in this workflow to keep a copy that only this workflow uses.
An entry this workflow changed shows the badge “Changed for this workflow”. Use the library version removes the copy, and the workflow goes back to the library entry. An entry the library does not have shows “Only in this workflow”.
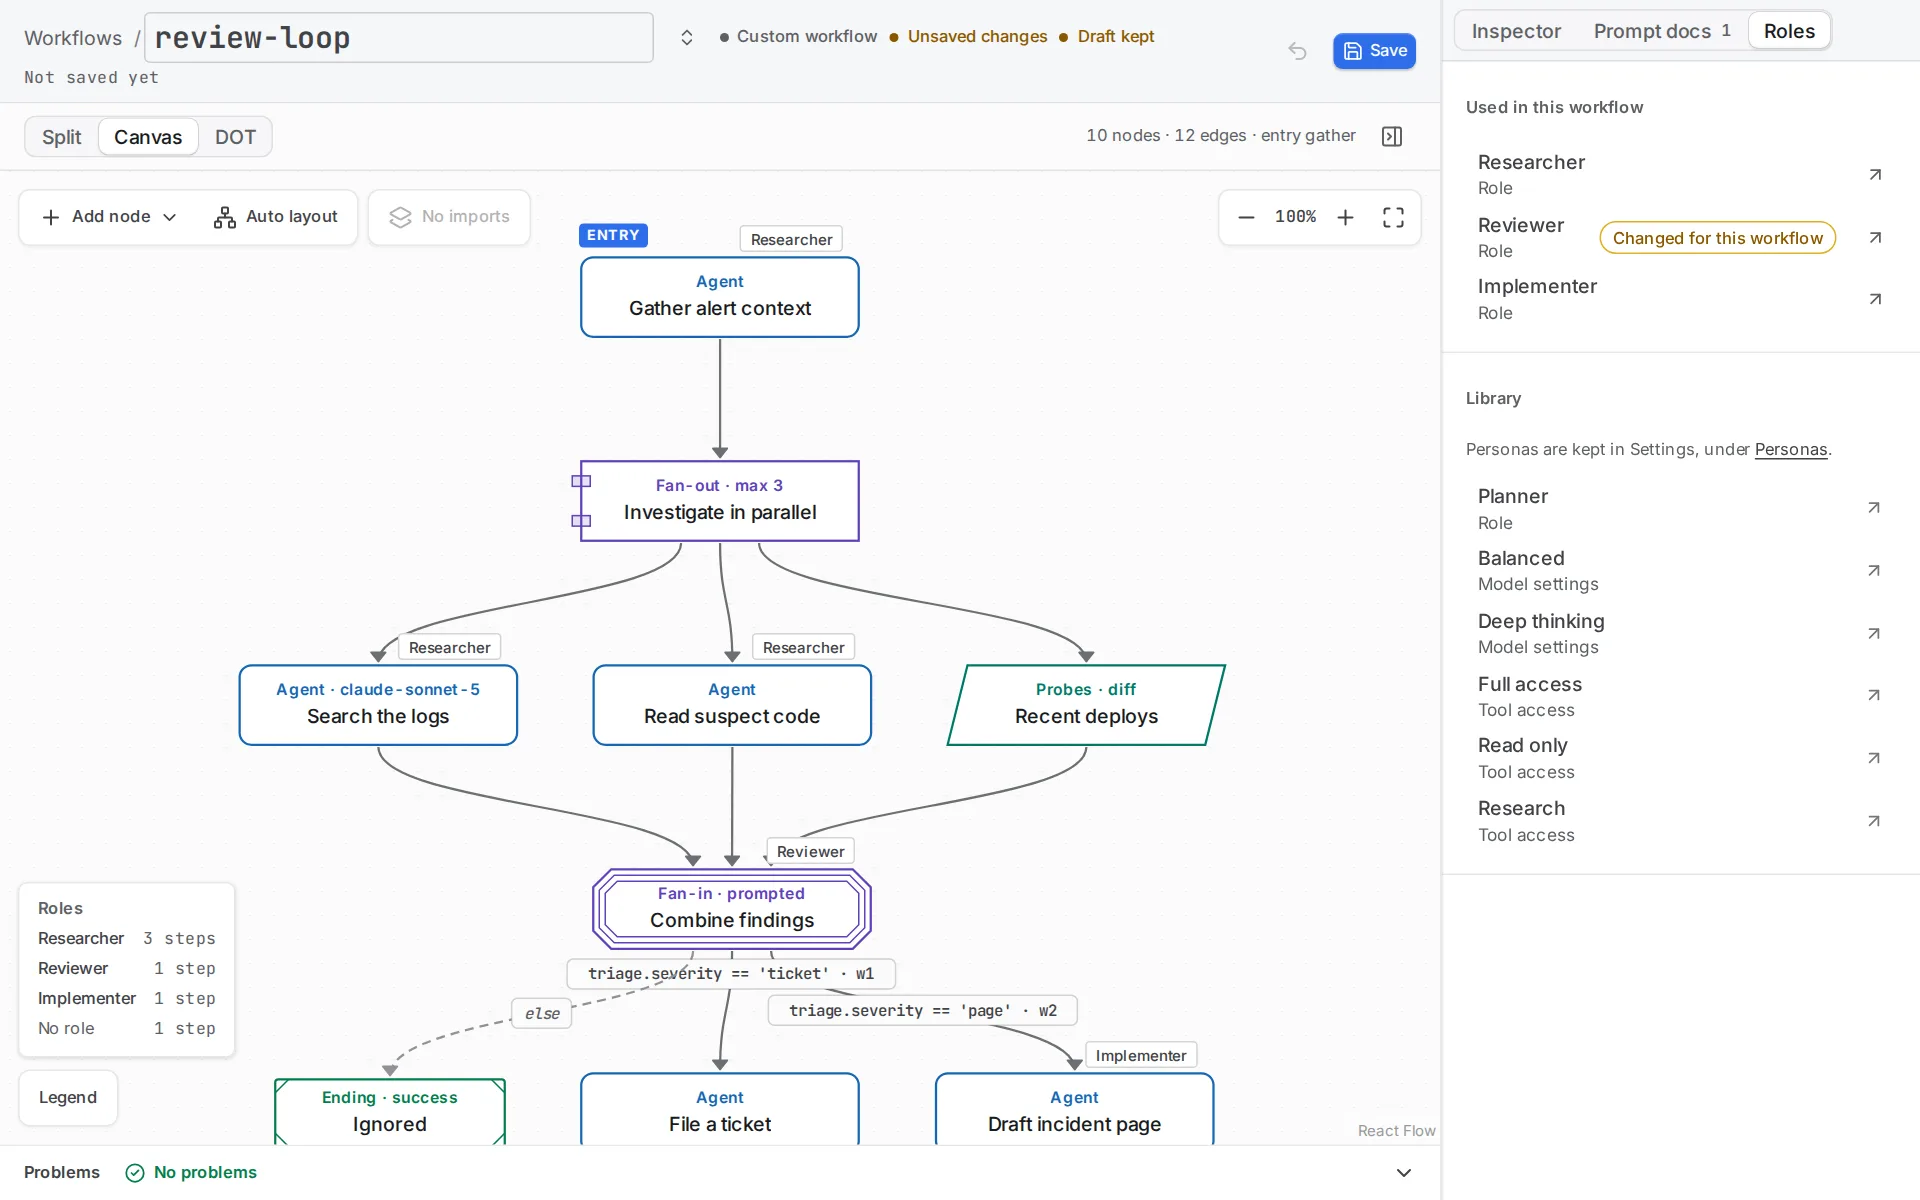
Personas are kept in Settings > Personas.
Edit the shipped defaults
Section titled “Edit the shipped defaults”Orbital ships five Roles:
| Role | Persona | Model settings | Tool access |
|---|---|---|---|
| Planner | Planner | Deep thinking | Full access |
| Implementer | Implementer | Balanced | Full access |
| Reviewer | Strict reviewer | Deep thinking | Full access |
| Researcher | Researcher | Balanced | Full access |
| Supervisor | Supervisor | Deep thinking | Supervisor |
Every shipped Role but Supervisor has Full access, so its steps can run commands such as gh and git. To restrict a Role, give it the Read only or Research Tool access. The Supervisor Role is the one the Supervisor speaks in. Its Tool access, also called Supervisor, allows reading, the web and Orbital’s own MCP tools, and nothing else. Deep thinking thinks hard, and Balanced thinks less. Neither names a harness or a model, so they run on whichever harness you choose for the run. Shipped defaults lists every shipped entry and each persona’s prompt.
Edit them in Settings, under Roles, Personas, Model settings and Tool access. Your edits survive upgrades: Orbital never overwrites an entry you changed.
- Reset to default returns a shipped entry to Orbital’s version.
- Deleting a shipped entry hides it. It stays hidden after upgrades. Select Restore under Deleted defaults to bring it back.
- Renaming a shipped entry keeps the new name as your own entry, and hides the shipped one.
Imported steps
Section titled “Imported steps”An import step brings in another workflow. You can choose a Role, a Persona, Model settings and Tool access on the import step itself. They apply to every step inside that does not choose its own. The pickers of the steps inside then say “via” and the import step’s name.
A choice on a step inside always wins over the import step’s choice.
Which setting wins
Section titled “Which setting wins”Each setting, such as the model or the effort, is decided on its own. The more specific choice wins:
- What the step sets itself, such as its own model.
- The Persona, Model settings or Tool access the step names.
- The step’s Role.
- What the import step that brought the step in chooses.
- What the workflow chooses for every step: its Persona, Model settings and Tool access, then its Role, then its own settings.
- The harness you choose for the run, and your defaults in Settings.
So a step with the Role Reviewer and its own Model settings Fast uses Fast, and still takes its Persona and Tool access from Reviewer.
Blocked tools are different. A tool blocked anywhere stays blocked. When the workflow’s Tool access blocks the web, no step can use the web, whatever its Role says.
Resolution order gives the exact order, including the advanced settings.
When a name is missing
Section titled “When a name is missing”A step may name a Role, Persona, Model settings or Tool access that neither the workflow nor the library defines. That is a warning, not an error. The step still runs with its defaults, and the editor says which name is missing, for example: “No persona called Critic in this workflow or the library. The step uses its defaults.”
Try the example
Section titled “Try the example”The example is a plan, implement and review workflow. It defines its own copies of the Roles, Model settings and Tool access it uses, so it runs the same way on any Orbital. The Personas come from the library. Delete the definitions from the workflow to use your library entries instead.
planuses the Role Planner. It thinks hard and only reads.implementuses the workflow’s Role, Implementer, with the Tool access “No web”.reviewuses the Role Reviewer. It thinks hard and only reads.
-
Download the files.
-
Unpack them.
Unpack the download into your workflow library,
~/.orbital/workflows/. Keep every relative path. -
Check the workflow.
Run
orbital validate ~/.orbital/workflows/roles.dot.
Open the roles workflow in the editor and select each step to see its summary line. Then choose New task, pick any project, choose the roles workflow and write a goal. One practice project serves every example.
See plain folders and Git for when a project must be a Git repository.
Expected behaviour
Section titled “Expected behaviour”plan writes a plan without changing files. implement changes the files. review reports what it finds without changing files. The run page shows each step’s Role and the settings it ran with.
Complete source
Section titled “Complete source”roles.dot
Section titled “roles.dot”digraph roles { graph [ version="1", entry="plan", role="Implementer", roles="Planner { persona: Planner; model_settings: Deep thinking; tool_access: Read only; } Implementer { persona: Implementer; model_settings: Balanced; tool_access: Full access; } Reviewer { persona: Strict reviewer; model_settings: Deep thinking; tool_access: Read only; }", model_settings="Deep thinking { effort: high; } Balanced { effort: medium; }", tool_access="Read only { tools: read; } Full access { tools: read, edit, shell, web, mcp; } No web { tools_blocked: web; }" ] plan [role="Planner", prompt="Plan a small change that meets this goal: {{ inputs.goal }}. Do not change files.", outputs="plan:text"] implement [tool_access="No web", prompt="Implement this plan: {{ context.plan }}"] review [role="Reviewer", prompt="Review the change against this plan: {{ context.plan }}. Report what you find. Do not change files."] done [shape="Msquare"] plan -> implement implement -> review review -> done}Attributes describes the text form of every attribute in this file.
Quick reference
Section titled “Quick reference”| To | Do this |
|---|---|
| Give one step a Role | Select the step and choose a Role under Role in the inspector. |
| Give several steps a Role | Select them on the canvas, choose a Role and select Assign role. |
| Change one part of a step | Choose another value in that part’s picker. Clear undoes it. |
| Change an entry for every workflow | Open the Roles tab, change the entry, select Save, then Change it everywhere. |
| Change an entry for this workflow only | Do the same, but choose Only in this workflow. |
| Bring back a deleted shipped entry | Select Restore under Deleted defaults in Settings. |
Related
Section titled “Related”- Roles and tool access: the building blocks, tool access and permissions
- Use different models: run steps on different harnesses and models
- Reuse a workflow: how import steps pass settings to the steps inside
- Attributes: the exact resolution order