

Start your first run
Add a repository as a project, run explain-repo and read its answer
You add a repository you already have as a project and run the explain-repo workflow on it. One agent step reads the repository and answers with its purpose, who it is for, how it is built and how to run it.
About 10 minutes. The run itself usually takes one to three minutes.
The run only reads. It makes no worktree, no branch and no pull request.
Before you start
Section titled “Before you start”You need a Mac for the app. On Linux or Windows, install the orbital command with npm and run orbital serve instead. The steps in the browser are the same.
You also need a repository on your machine to explain.
1. Install Orbital and sign in to a harness
Section titled “1. Install Orbital and sign in to a harness”-
Download Orbital.
Download it for Apple Silicon or Intel.
-
Drag Orbital to Applications.
Open the disk image and drag Orbital to Applications.
-
Install a harness and sign in.
Orbital ships no harness, so install one yourself. Any of the three runs this first run.
Run
npm install -g @anthropic-ai/claude-code@latest. Then runclaudein a terminal and follow the login. The Claude Code setup guide has other ways to install it.Run
npm install -g @openai/codex@latest, thencodex login. The Codex guide has other ways to install it.Codex starts only in a Git repository, so add a repository, not a plain folder, as your project.
Run
npm install -g opencode-ai@latest, thenopencode auth login. The OpenCode guide has other ways to install it. -
Open Orbital.
Open it from Applications.
Orbital finds git, claude, codex and opencode on your login shell’s PATH. Settings > Harnesses shows each harness. A harness it cannot find reads “Not installed”, with the command to install it. Install Orbital has the details for each harness.
2. Add the repository as a project
Section titled “2. Add the repository as a project”The first time Orbital opens, it asks you to “Give your agents a place to work.”
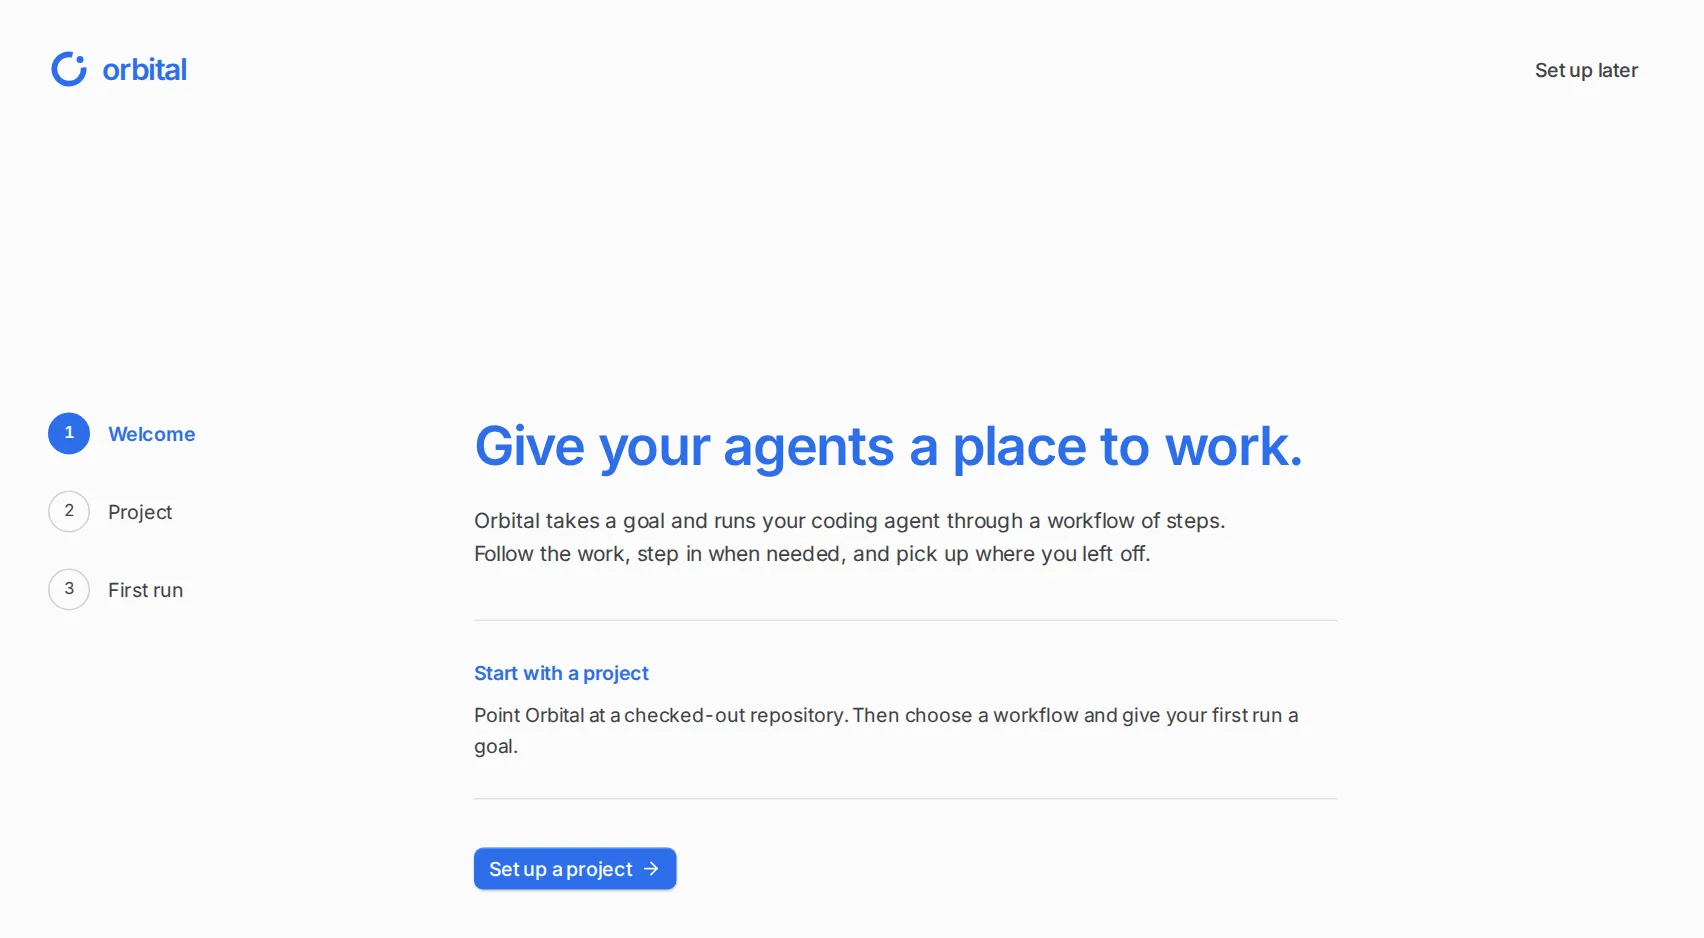
-
Start the project setup.
Choose Set up a project.
-
Pick a folder.
Choose Choose folder and pick a repository on your machine. A plain folder works too, except on Codex; see plain folders and Git. Orbital names the project after the folder.
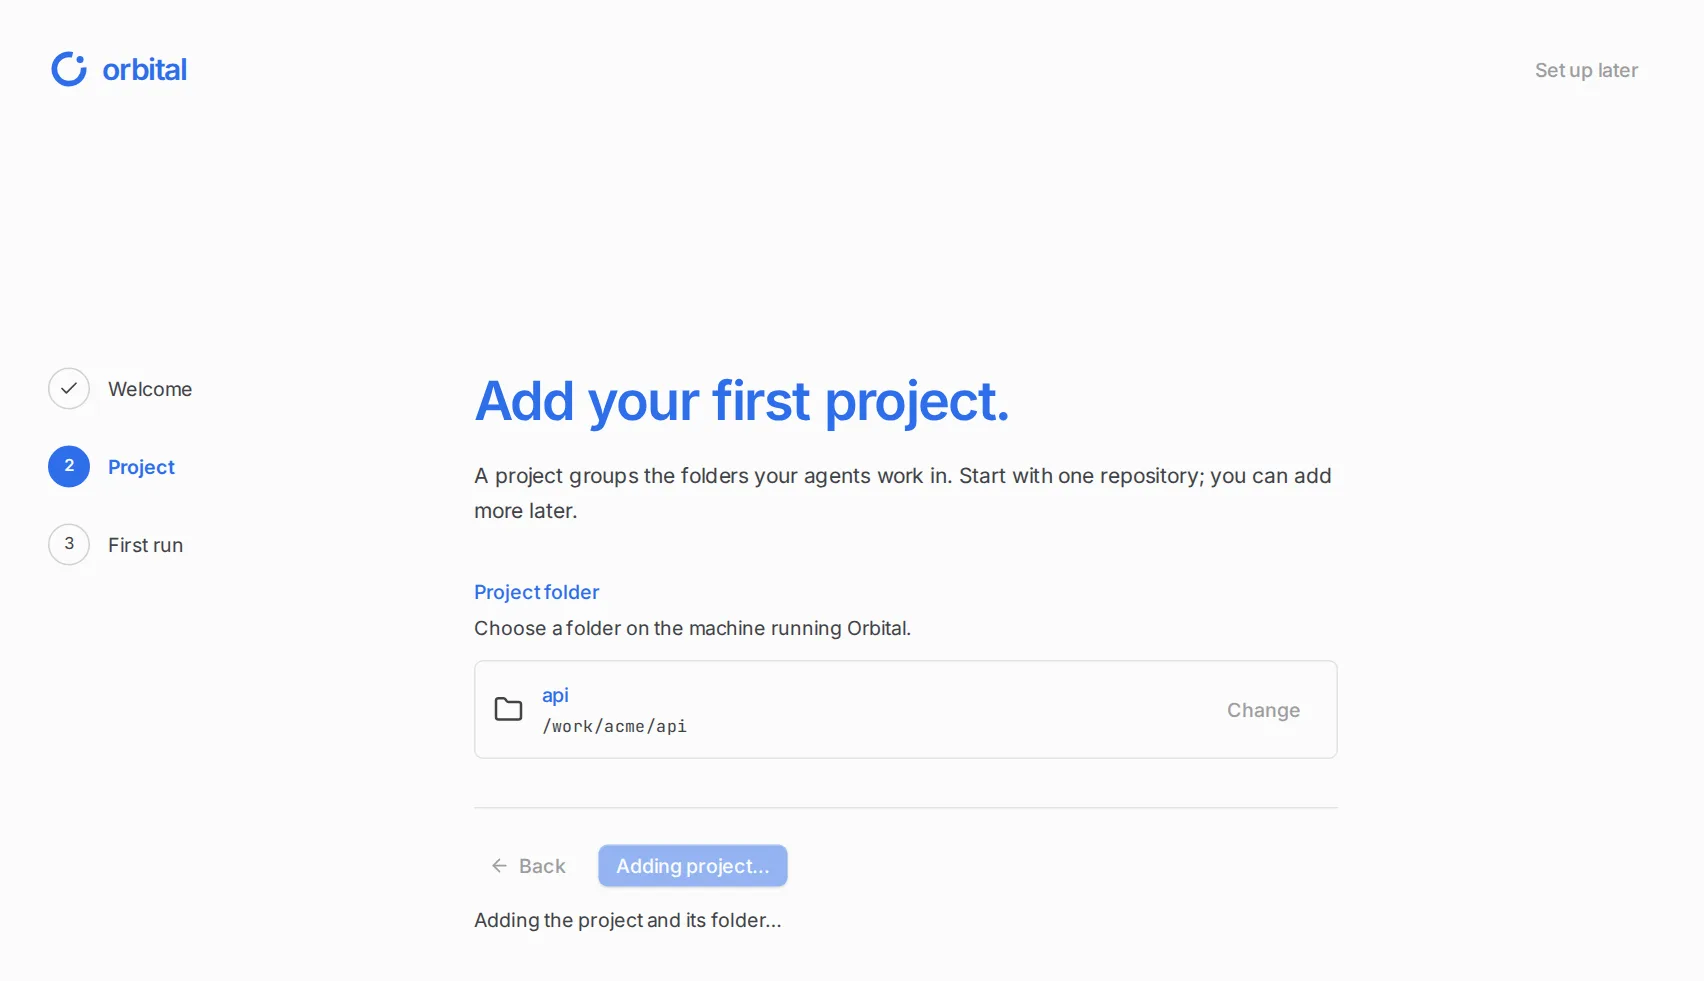
Orbital names the project after the folder you pick. -
Add the project.
Choose Add project. The project is ready when the app says “Your project is ready.”
-
Go to the first run.
Choose Prepare first run.
Already past the first launch? Open Projects and choose New project. Name it, then choose Add folder on the project’s page. The first folder you add is the project’s primary folder. Projects and folders explains more.
3. Run explain-repo
Section titled “3. Run explain-repo”-
Open a new session.
Choose New task in the sidebar. The project you added is selected at the top.
-
Choose Workflow mode.
Make sure the switch under the text box says Workflow, not Chat.
-
Pick the workflow.
Open the workflow menu and choose
explain-repo. -
Write the goal.
In the text box, write what you want to know, for example
Explain this repository to a new team member. This is the run’s goal.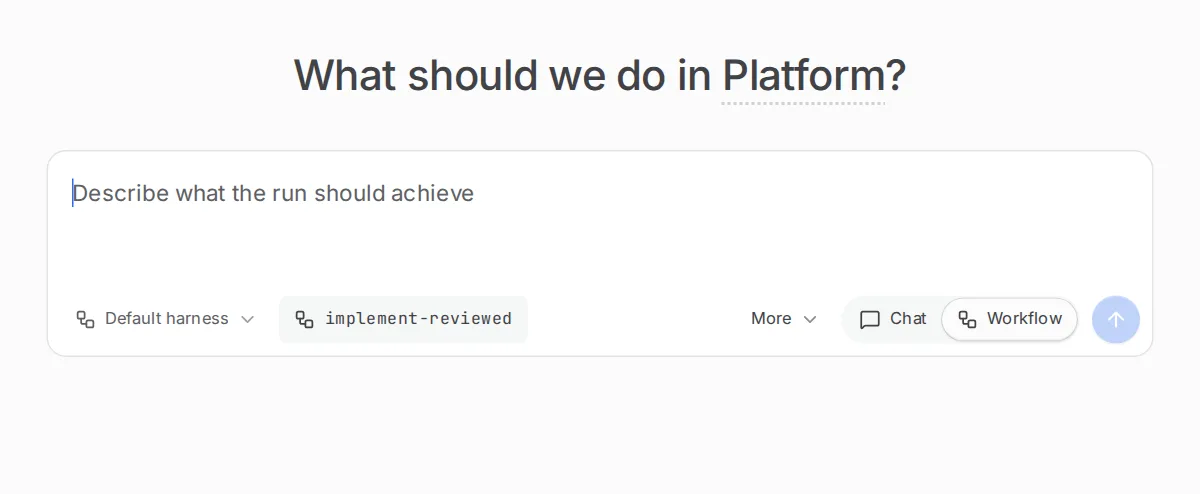
Set the switch to Workflow, pick explain-repo, then write your goal. -
Pick a harness.
In the harness picker, choose the harness you signed in to: Claude Code, Codex or OpenCode.
-
Start the run.
Choose Start run.
The step only reads the repository and explains it. Its prompt tells it not to change, create or delete any file, and to run only commands that read. It works the same on Claude Code, Codex and OpenCode.

The run page opens. The Session tab shows the explain step working: the files the agent reads and its reply as it writes it. Watch a run explains the rest of the page.
4. Read the answer
Section titled “4. Read the answer”The answer is the agent’s last message in the Session tab, just above “Run ended: success”. It has four parts:
- Purpose: what the repository does.
- Who it is for.
- How it is built.
- How to run it.
The agent says where it found each fact. It also says so when the repository does not tell. The Context tab keeps the same answer as response.explain.
If the run stops
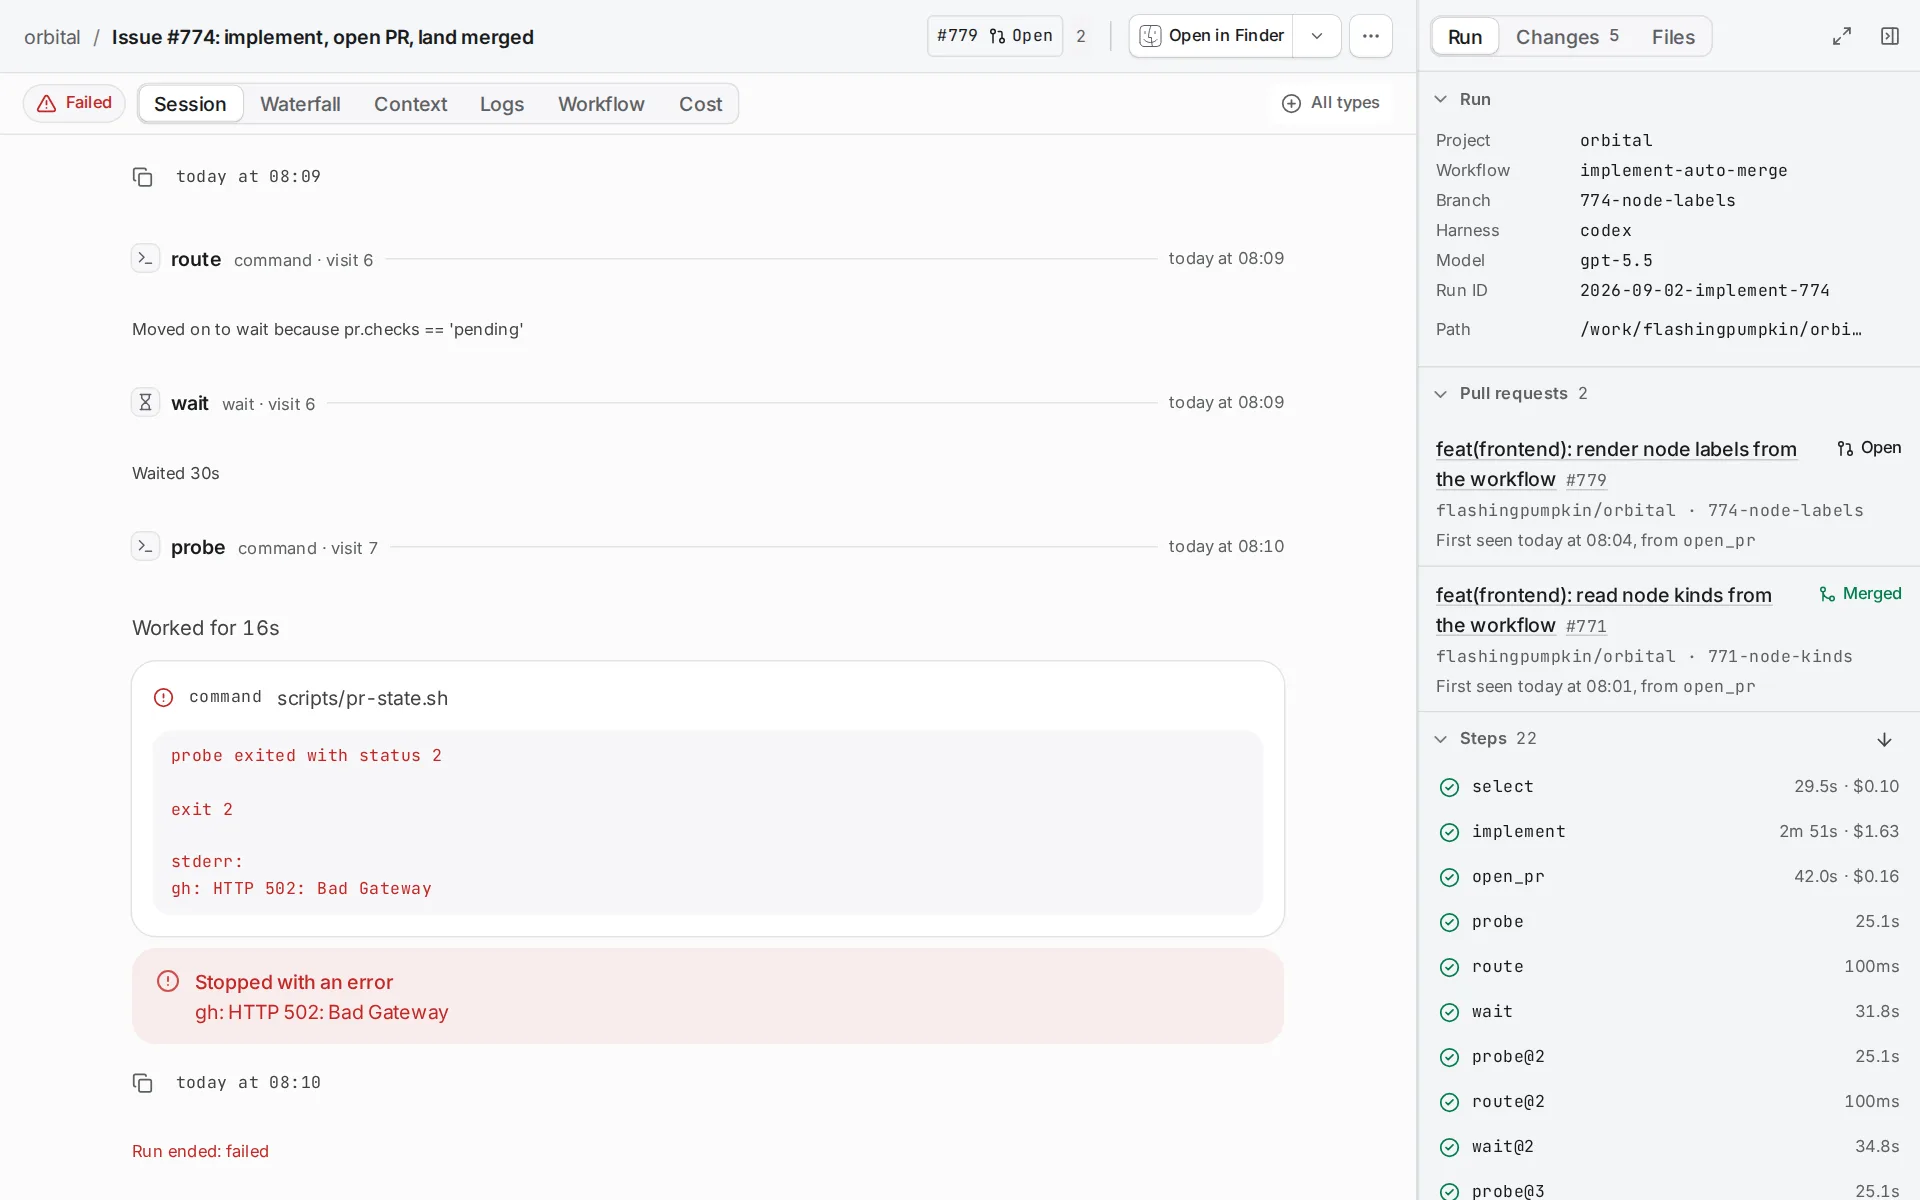
Section titled “If the run stops”A run that cannot start its harness stops. It is Paused, and its badge reads “Waiting on you”. The step shows why, for example that the harness is not installed or not signed in. Fix that, then choose Resume. Troubleshooting lists the common causes.
Next steps
Section titled “Next steps”- Implement a feature: deliver a change as a pull request.
- Research report: turn a question into a written report.
- Runs: what a run is and what you can do with one.
- Permissions: what a run asks you before its agent acts, on each harness.
- How Orbital works: the ideas behind the run you just watched.
- Write your first workflow: write a workflow of your own.